What is it?
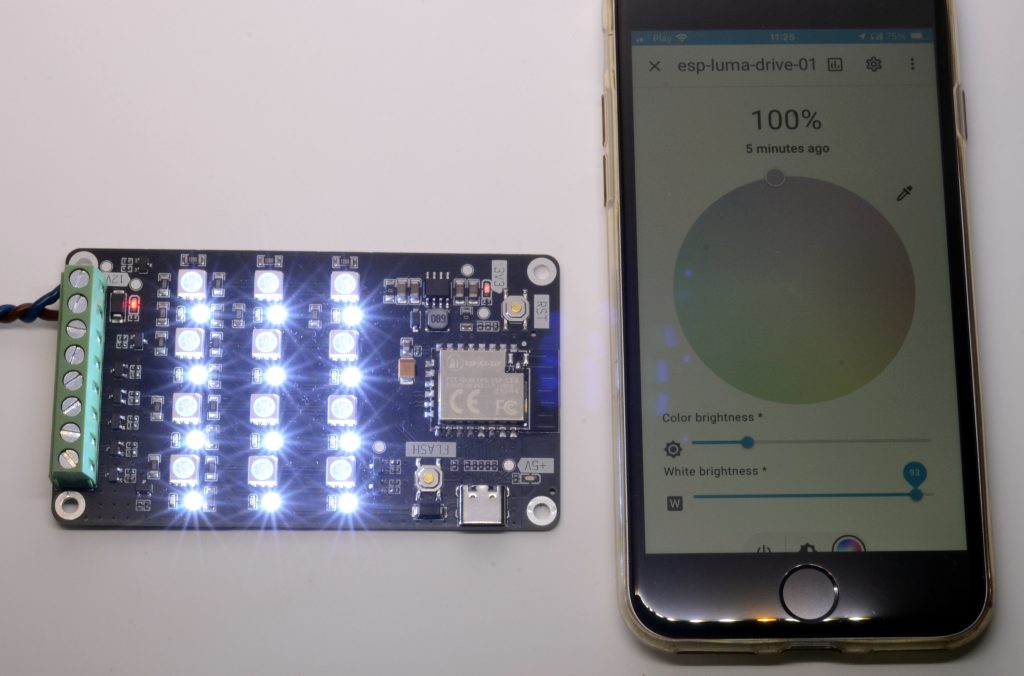
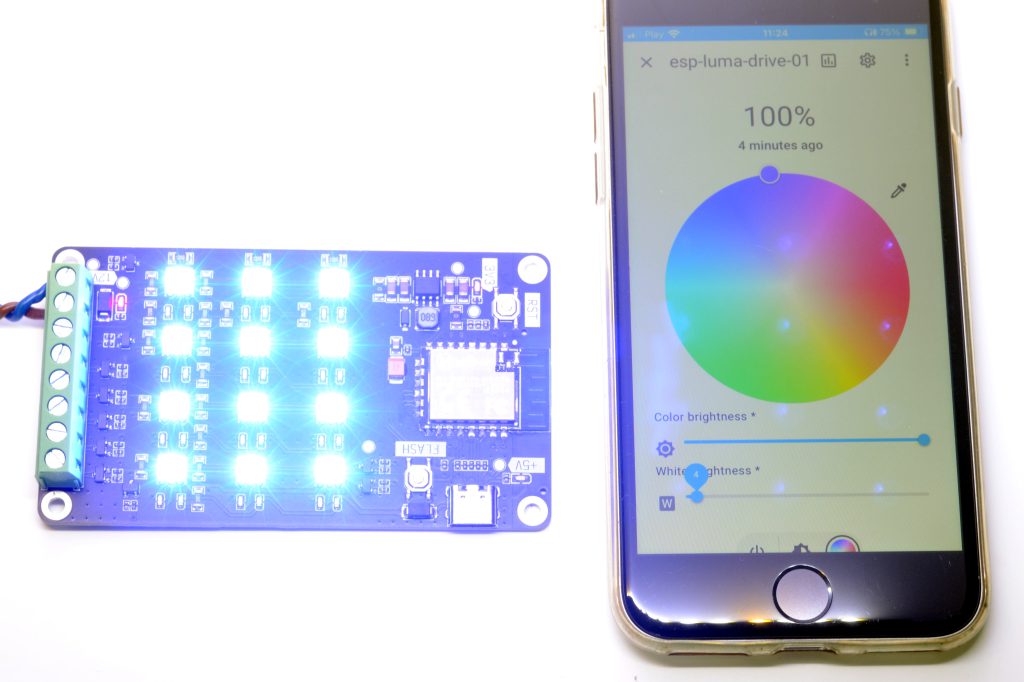
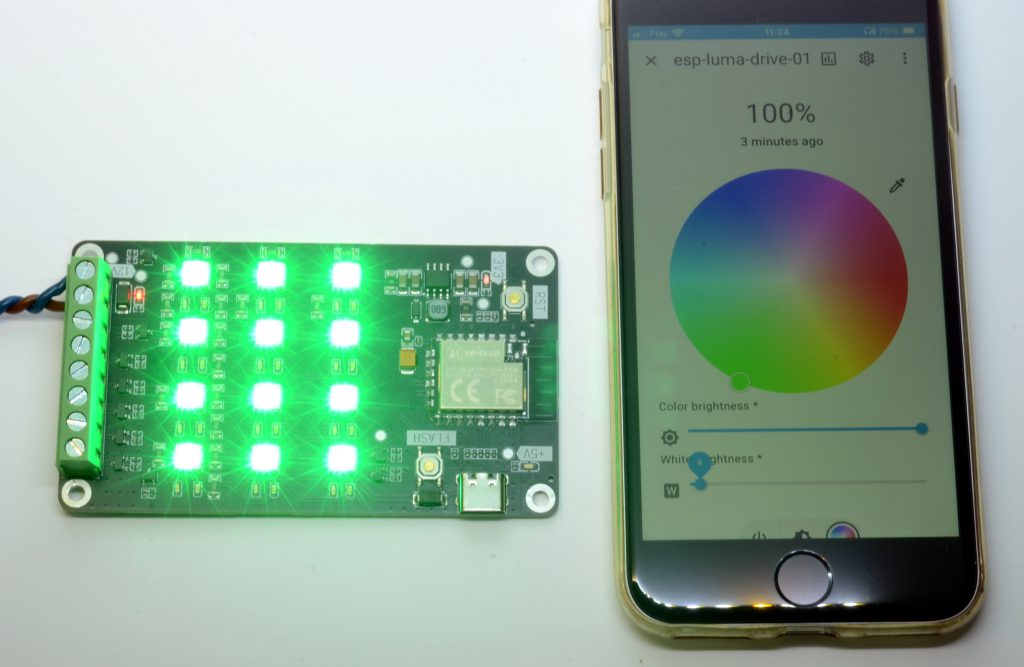
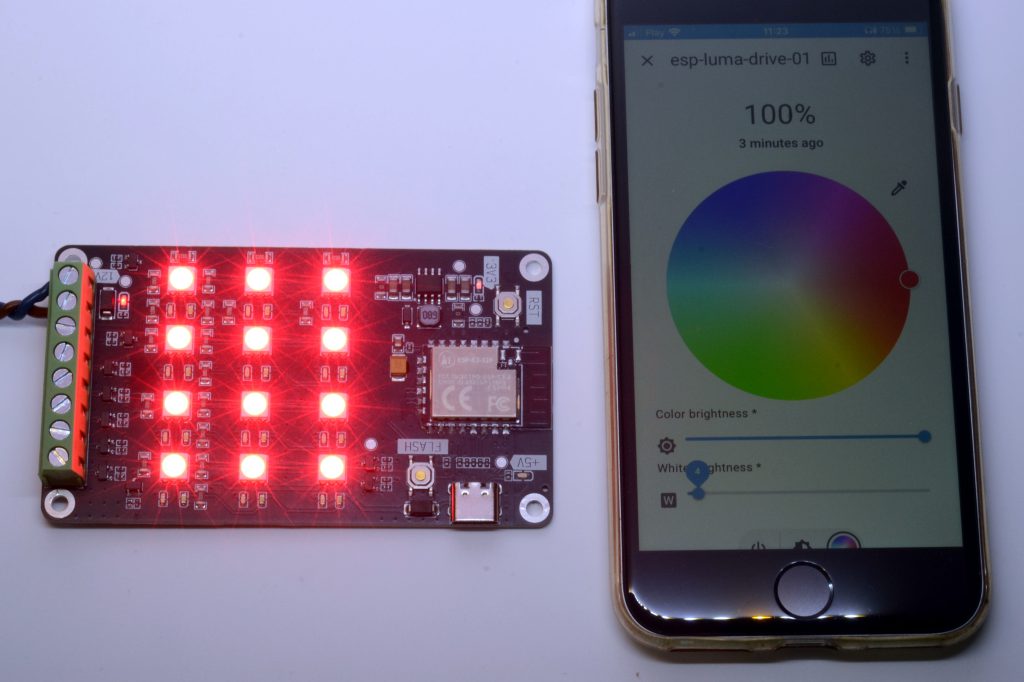
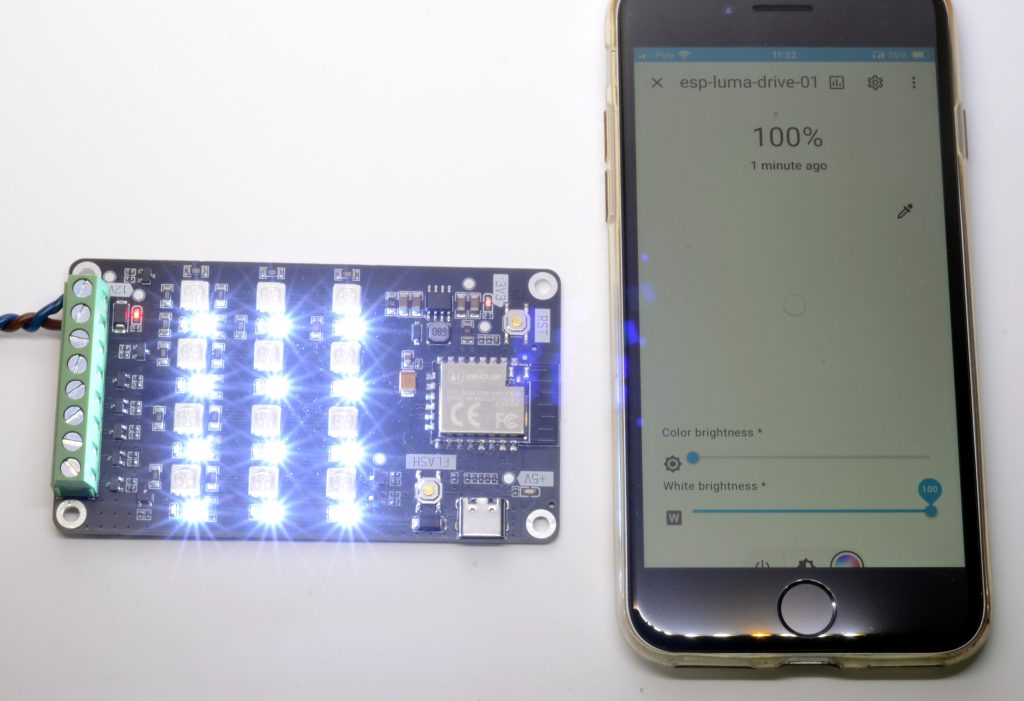
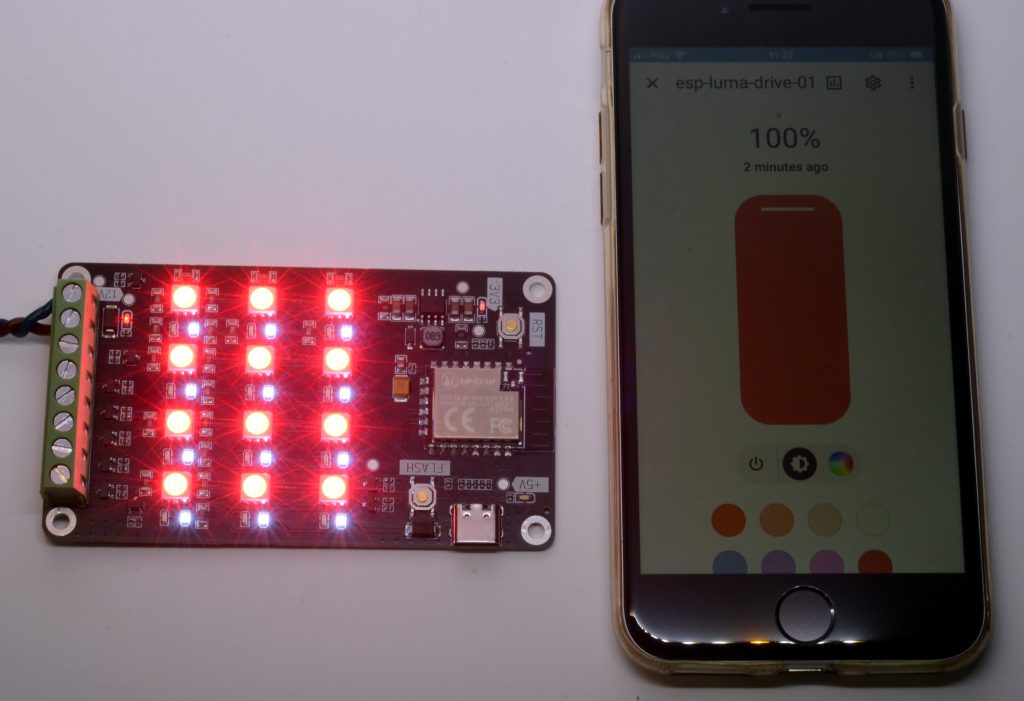
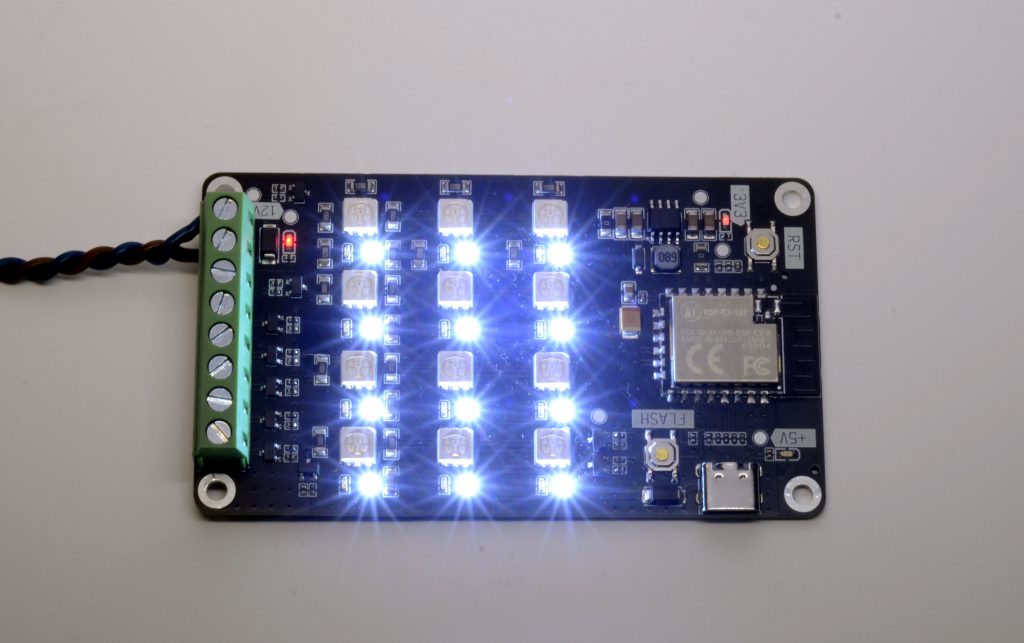
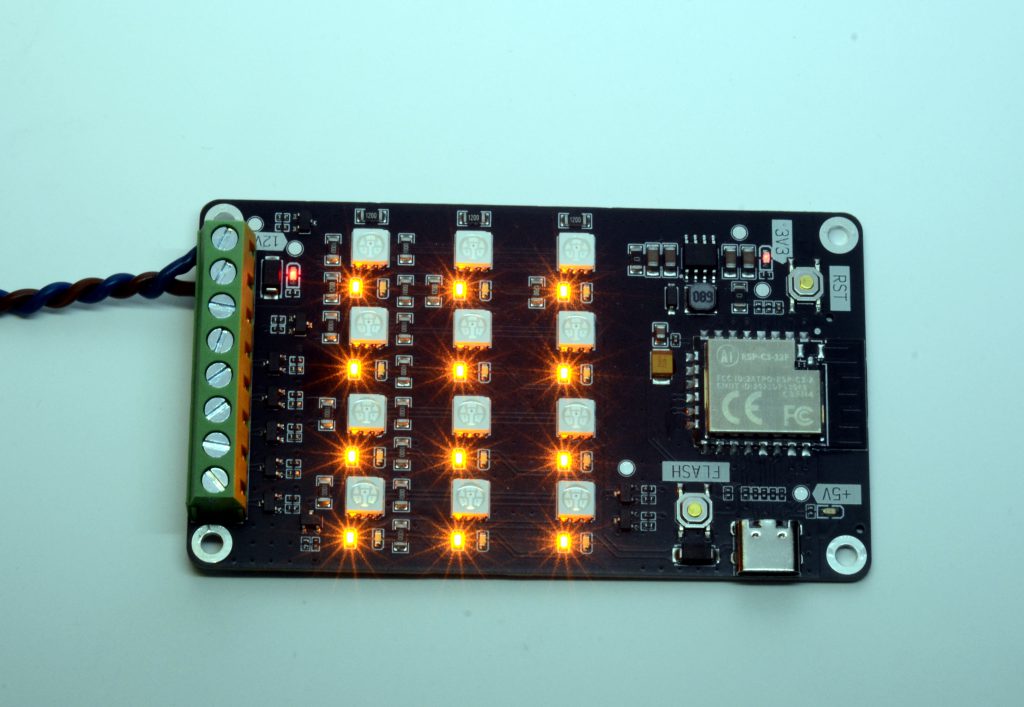
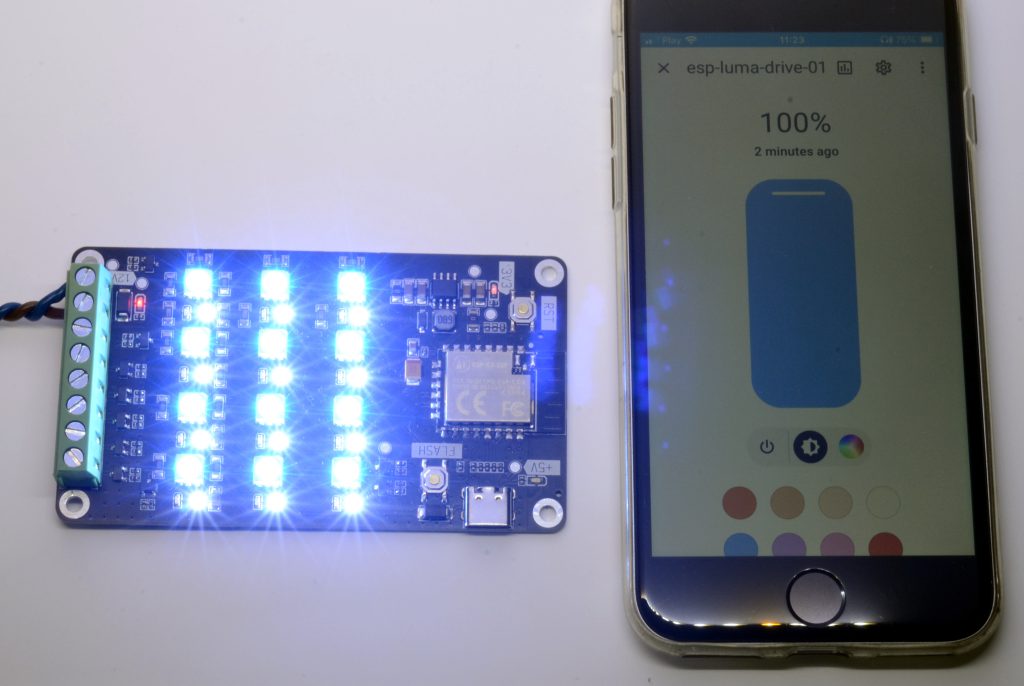
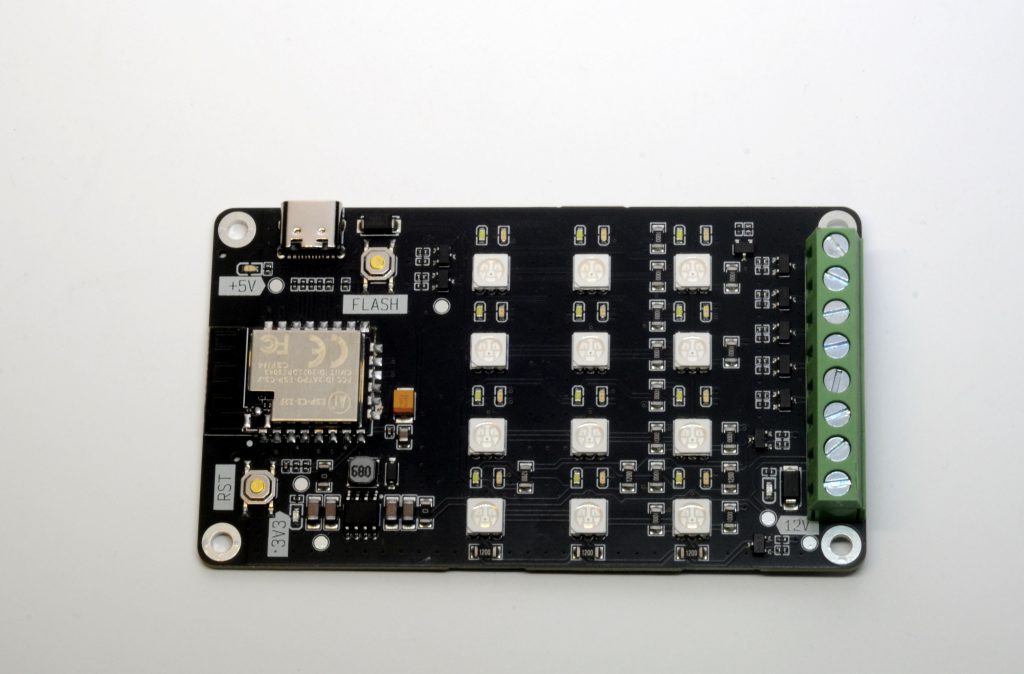
ESP Luma Drive is a simple device that is designed to be used as an ESPHome-controlled Home Assistant integrated smart lights controller. It has an onboard LED matrix consisting of 5 colors (RGBW + night yellow) and a set of MOSFET drivers to individually control 5 lines of external LED strips (RGBWW), so it can be used with either.
Motivation
I’m a Home Assistant enthusiast and working to automate my routines around the house, including a bunch of sensors and lights. I had an idea to include existing ceiling LED strips into the Home Assistant setup a long time ago, so I did.
The main component of the board is an ESP32-C3 MCU, that is powered from the same source that is powering the LED strip. That is usually 12V, too much for a linear regulator, so I used a high-efficiency drop-down converter instead. For ease of programming, I added a USB-C port, so whenever it is connected, it will be used to power the MCU, when 12V is missing. Although 5V is not enough to power onboard LEDs, it is convenient enough to program the MCU when needed. Why 5V is not enough to power LEDs? More on that below.
Main features
| Power house | Ai-Thinker ESP-C3-12F |
| MCU | ESP32-C3, 160MHz, 4MB of flash, 400 KB SRAM |
| Power | 5V from USB-C for flashing purposes only 12V DC for driving LEDs and the MCU |
| Internal LEDs | 5 channels, 12 LEDs each: RGBW + Yellow |
| External LED drivers | 5 channels, 4A each: RGBWW (suggested) |
| Wireless Connectivity | Onboard WiFi + BLE |
| Size (excl. packaging) | 94 x 54mm |
| Size (incl. optional packaging) | 60 X 25 X 100mm |
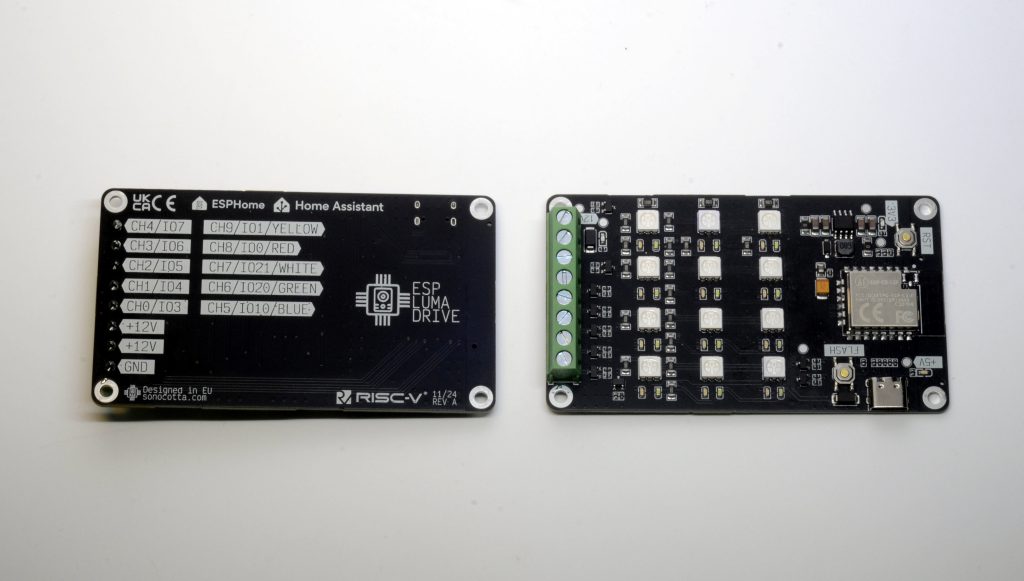
Boards Pinout
Built-in LEDs
| Pin | Description | Setup | Calculated current (12V) | Max current (continuous) | Max current (pulse) |
|---|---|---|---|---|---|
| 0 | RED | 4S3P + 120Ω | FV=2.2V I=26mA | 30mA | 100 mA |
| 1 | YELLOW | 4S3P + 120Ω | FV=2.2V I=26mA | 25mA | 60 mA |
| 10 | BLUE | 3S4P + 100Ω | FV=3.0V I=30mA | 30mA | 100 mA |
| 20 | GREEN | 3S4P + 100Ω | FV=3.0V I=30mA | 30mA | 100 mA |
| 21 | WHITE | 3S4P + 100Ω | FV=3.0V I=30mA | 30mA | 60 mA |
External LED drivers
Mames are not prescriptive, that’s no more than a handy suggestion.
| Pin | Name | Max current (continuous) |
|---|---|---|
| 3 | BLUE | 3-4 A |
| 4 | GREEN | 3-4 A |
| 5 | WHITE | 3-4 A |
| 6 | RED | 3-4 A |
| 7 | YELLOW | 3-4 A |
All drivers are low side, meaning they will ground the output when the appropriate pin is driven high. You connect the load between the +12V (Plus side) and Driver output (Ground). I found this to be more common LED Strips on sale.
Using higher voltage
Based on the above table, 12V is the maximum voltage that can guarantee a continuous full-brightness run. If you aim for the short flashes you may use higher voltage. I did tests with 19V and within a minute or two board was working fine. At your own risk, you can apply even higher voltage, considering the following limits
- XL1509 – 40V Max input voltage
- AO3400 MOSFET – 40V Max source-drain voltage
- Capacitor voltage rating – 25V
- Resistor power rating – 250mW – 50mA continuous current.
- LED current – make your own calculation
How to use it
Software
Since device is designed to be primarily used within the Home Assistant setup, the software folder contains ESPHome configurations for both devices.
luma-drive-external-ledsis a simple external LEDs driver with PWM on every channel and a few sample effectsluma-drive-internal-ledsis a simple internal LEDs driver with PWM on every channel and the same sample effects
Due to the limit in PWM channels on the ESP32-C3, you can’t use all 10 drivers at the same time, you can still use a secondary set in binary mode though
Home Assistant – light device
One simple way that ESP Luma Drive can be used in the Home Assistant is by using a light device. Yaml config will get you started. The linked repo contains detailed configuration steps to get you started.
How does it look like
Documentation
Both software and hardware documentation can be found on the project’s GitHub. You can follow project progress at Hackaday
Where to buy
You may support our work by ordering this product at Tindie


